DIY Dream Catcher Baby Name Decor
/Just take a look at the blank wall above my baby's crib. What's missing? His baby name!! I've gone through so many designs in my head, but I think what I've come up with will be just right for our nursery style.
Materials:
- Acrylic letters
- Embroidery hoops
- Yarn
- (and PATIENCE)
I found these neon yellow, acrylic letters on clearance from landofnod.com a year ago. They were the inspiration for this DIY. You can get the other items at your local craft store.
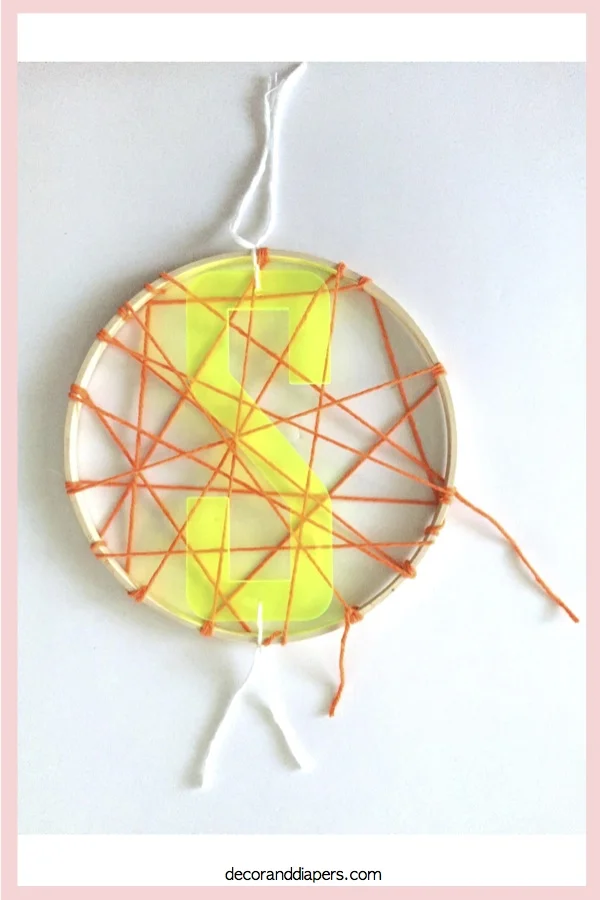
First, unscrew the embroidery hoop, and remove the inner hoop. Cut white yarn to suspend the letter in the center of each embroidery hoop. Then set the letter to the side.
Tie a knot with your yarn, and start weaving it at a variety of angles across the hoop. It's better not to have a pattern in mind, and keep it irregular. It will look more organic that way when you are done. Keep the string taught to avoid sagging.
Continue wrapping until you've created a consistently covered background for your acrylic letter to rest upon. Tie another secure knot to complete this process.
Now tie the acrylic letter to the hoop with the white yarn that was cut to size in the first step. This will be the first glimpse at the layered effect of these materials.
Braid a long rope in the same color yarn that you wound around the inner hoop. Choose the length you desire. Keep in mind that the yard may stretch with the weight of your hoop. Then tie your braided rope to the inner hoop at the 10 and 2 o'clock positions for even hanging. Re-asemble. Press the middle hoop over the top so the tails of your yarn get pushed down to the back side. Then secure with the outer hoop and tighten the screw at the top. Cut off extra strands.
Lay out the hoops on the floor in front of the crib to figure out their placement, then raise it onto the wall one by one. A flat-head nail offers a secure fixture to the wall. And ta-dah!
I chose a simple pattern because the dream catchers are already so interesting to look at. It's a bit difficult to see the letters in this photo, but it's really great with natural sunlight shining in the room. The name is subtle, but it's definitely there!
I just love seeing my baby's name in our nursery. It's a special feeling. I hung the letters around 5 feet high. They need to be high enough on the wall that Baby S won't pull them down. At that height, they are also at eye-level for grown-ups to enjoy as well.
I decided to make little white tassels from the extra string that suspends the letter in the hoop- Just a little design flourish.
This close-up shows the brilliance of the colors with the neon acrylic. It provides just enough contrast without being bold. I've stared at this wall many times during feedings, so it makes me SO HAPPY to finally see color up on the walls.
This detail shot shows the braided rope that suspends the hoop on the wall. You can also see how the acrylic glows in the light.
I apologize for my lack of photography skills, but trust me- it looks great. I hope these dream catchers keep Baby S in a peaceful slumber all night long (Please, let him and his mama sleep all night long). The imperfect geometric design of the dream catchers also tie in with the other patterns in the nursery.
Stay tuned for my DIY Baby Mobile to finish off his crib area. Coming soon!!


